How to Practice Posing at Home With Miles Flow
You do not need a studio, photographer, or perfect outfit to get better at posing. A quiet room, a phone stand, and a few guided poses are enough to build confidence before your next real photo session.
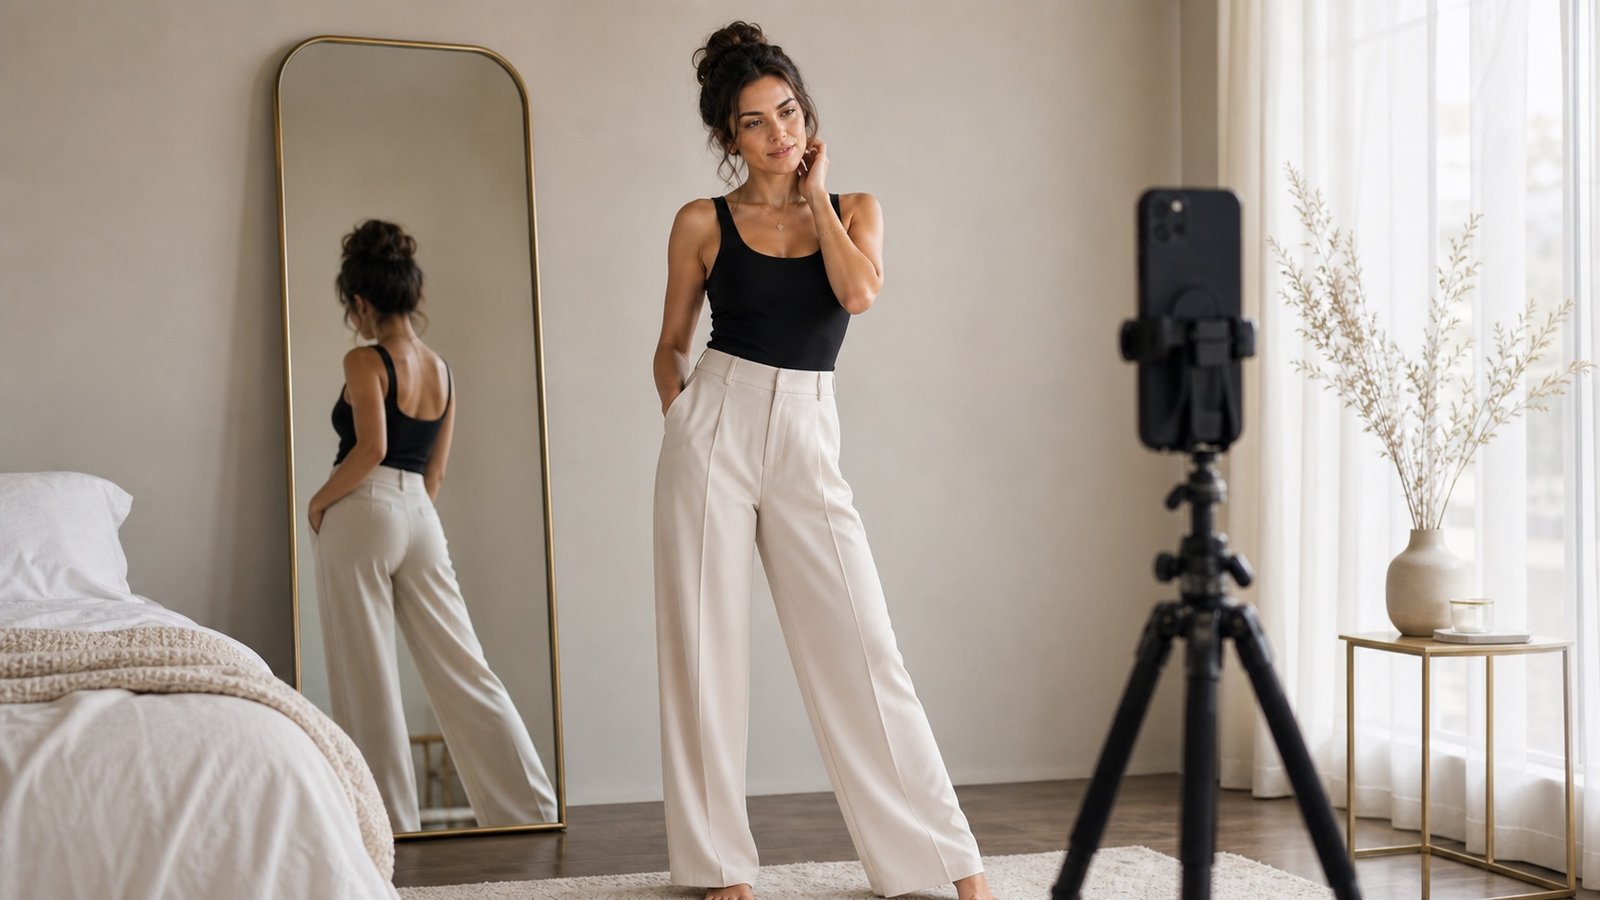
Set Up a Simple Practice Space
Choose a clean corner near a window. Put your phone on a tripod or steady surface, then stand far enough back to see your full body. A mirror can help, but the camera view is more important because it shows what the photo will actually capture.
Choose Three Poses Only
For practice, fewer poses are better. Pick one standing pose, one seated or leaning pose, and one movement pose. Save them into a short Flow Set so you are not browsing while you shoot.
Practice in Rounds
- Round 1: match the basic body angle.
- Round 2: focus only on hands.
- Round 3: soften your face and shoulders.
- Round 4: take real photos and review them.
Do Not Judge the First Shots
The first few photos are warmups. Your body is learning where to stand, how to turn, and what relaxed hands feel like. Delete the warmups if you want. The value is in repetition.
Make a Small Progress Note
After practicing, write down one thing that improved and one thing to work on next time. For example: "shoulders looked better" or "hands were still tense." This turns practice into progress.
Try This 10-Minute Routine
Open Miles Flow, choose three poses, set a timer, and practice each pose for three minutes. Use the last minute to review. Ten focused minutes a few times a week can make public photo sessions feel much easier.